I was shocked when I discovered how absolutely gorgeous and warm it was today. Even better, my meeting was only a short distance from the New York Botanical Garden and the Bronx Zoo...so I decided to walk over to the NYBG!...but when I was part way over there, I realized that the Garden was probably closed (it was) so I went to the Zoo instead! I re-upped my membership (I let it lapse a year ago, but I've missed having it) and then did some business-related investigation: I went to go speak to the Public Relations department about what would be involved in getting permission to sell prints of the photographs I took at the zoo! Unfortunately, this query hasn't produced results yet (the helpful folks at the department weren't able to reach the people who actually could help me, and when the right person called me back - which they did, and I appreciate - they had looked up the answer to a slightly different question, and so will get back to me :) ). I'm hoping that there is a small licensing fee that's within reach if I carefully select a few of the best images I've taken there over the past few years. But I guess we'll see... :)
After that, I wandered around the indoor exhibits, plus a few of the outdoor that have year-round animals (bears and tigers, primarily). I took a LOT of pictures and waited very patiently for beasties like tigers, lemurs, kangaroos, otters, monkeys, and hornbills to get in to just the right spot for the just the right picture. My persistence paid off - about a third of the shots I took turned out, a few really, really well (for active shots in low-light exhibits, it's not a bad ratio at all...). I'm thrilled, because it's one of those concrete events that help me see how far I've come. Right around this time last year, I did a trip where I went to a lot of the same exhibits, with the idea of doing primarily photography, and the difference between the two sets is night and day.
Some of that is because of a change in camera. Early last April, I was at opening day at Citifield when the lens on my old camera (Canon Digital Elph SD 1000) jammed. It did unjam, but the writing was on the wall - after two years, tens of thousands of images, and a whole lot of abuse, I'd been having trouble with the focus for a while, macro was starting to just flat out not work, and I really wanted a new camera. In fact, when I originally started Curiously Crafted Creations, that was my only goal: raise enough money to pay for a new camera. Since I still haven't done that, I guess it's a good thing I didn't wait. :) Instead, I broke in to my saved change and scraped together half the price for a much nicer camera than my old one, and paid the rest out of pocket. The new camera is a Canon Powershot SX210 IS - still not a fancy one, but bigger than the travel/pocket/mini-sized one I'd been using. Not long after, I did a post in my LJ in which I compared my efforts at photography of the same items at the Met. (though a lot of the differences in that set reveal more about how much I learned about photography in between when the shots were taken than they do about camera differences). Some of the old shots were comparable or better, because I'd gotten to really know my old camera and how to optimize it. And in the months after that, I had a lot of trouble with the SX 210; it wasn't until the trip in September that I really began to feel comfortable with it.
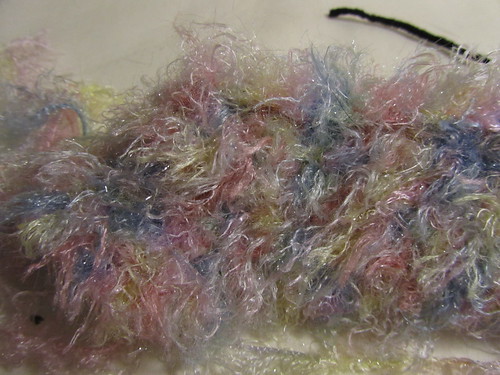
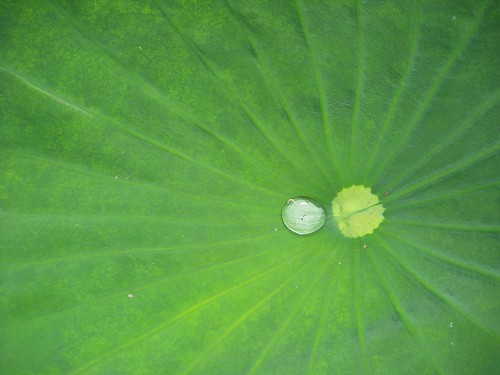
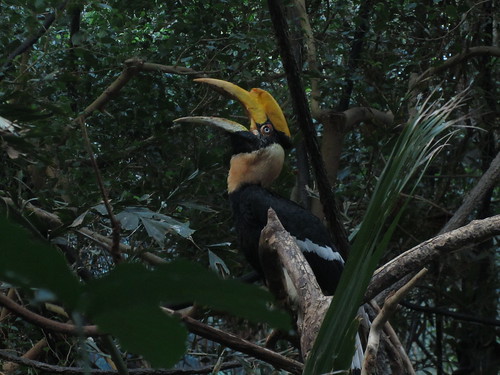
And today, I got to remember how hard it is to switch. Right after I took a really successful (imo) shot (you can judge for yourself - it's the pic of the hornbill, below), I turned the camera off, wandered down to the next area, turned the camera back on, and noticed that something wasn't right - there was a weird blurry spot on my lens! When I looked, I saw this:
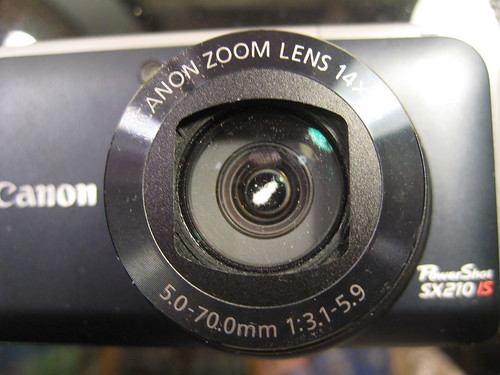
A giant piece of lint had somehow worked it's way in to the space between the layers of glass that make up my lens!! WTF????? Look what it does to my pictures!!

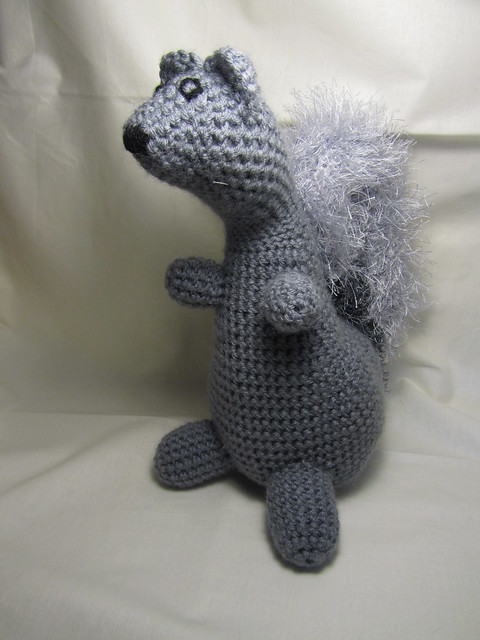
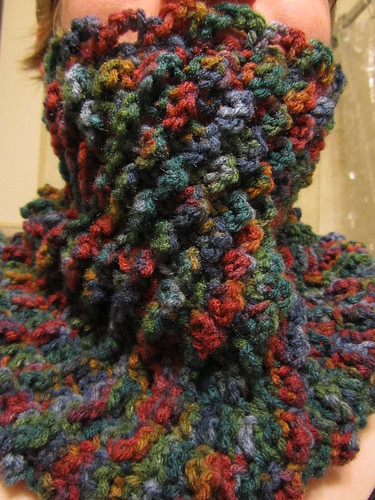
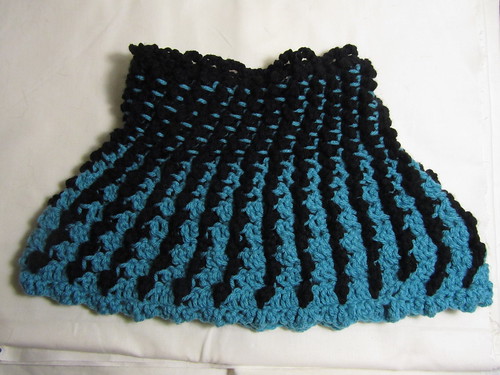
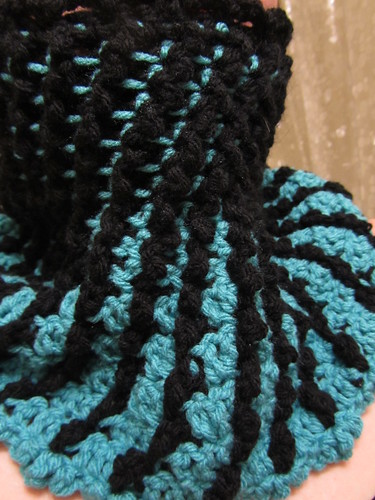
Needless to say, I was pretty freaked at first, but I used my phone to go to Canon's webpage, did a little trouble shooting, nothing worked, so I called them and they're going to fix it for me - probably for free (I really, really hope I can find some document or other that proves it's still under warranty!!). But in the meantime, I pulled out my old camera, which I meant to sell but never got around to it, so that I could snap shots of my recently finished Manager and other such things. And ya know...? Now that I'm used to my new camera, there's really no comparison. I'm going to have to completely re-shoot the pictures of the Manager because without control over shutter speed and such the shots just don't come out quite right...I've come a long way in the past year. And that's nice to see.
I'm not worried. Canon has promised to send it back to me in 5 - 7 days. Unfortunately, the release date for the camera was a week ago last year, so it is actually possible that I bought it long enough ago that the warranty could be expired (though I actually bought it the last week of April...)...but if I can't find proof of the warranty and they ask me to pay, I will, and that's that. :)
Anyway. Enough of all that! ADORABLE ANIMALS! :)
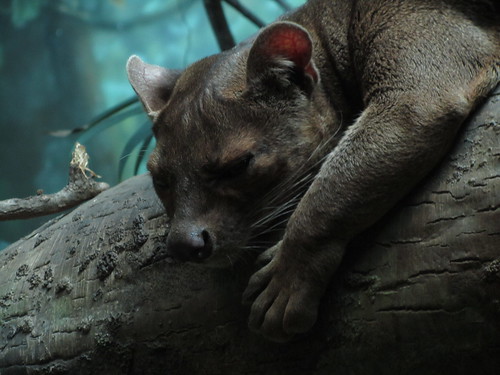
Sleepy was the main theme of the day! Sleepy fossa...
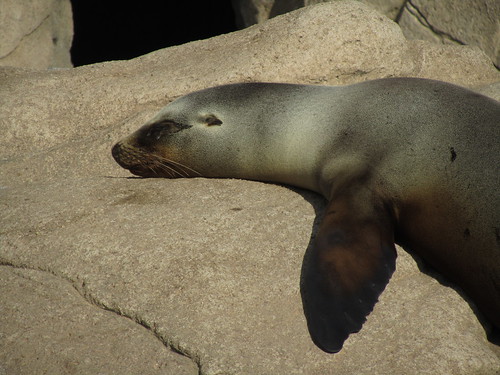
Sleepy sea lion...
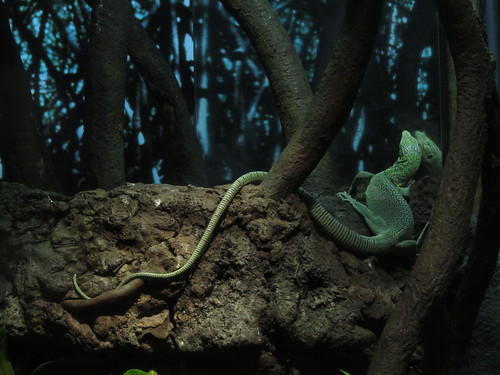
Sleepy monitor...
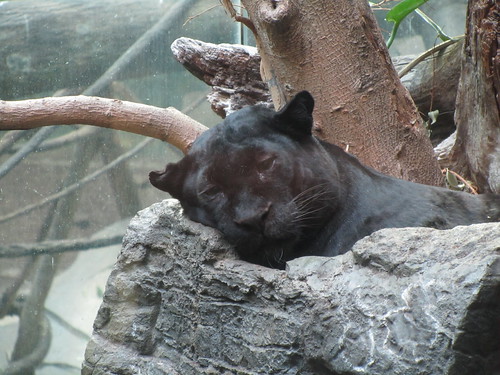
Sleepy leopard...
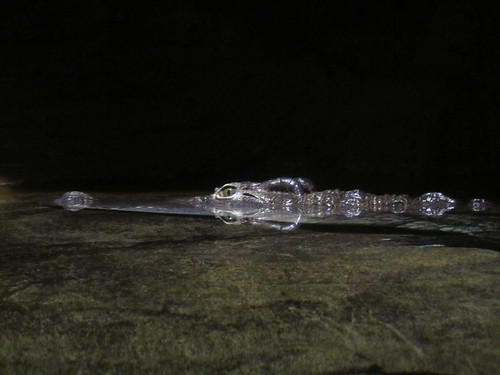
But don't make the mistake of thinking the Nile Croc is sleepy...
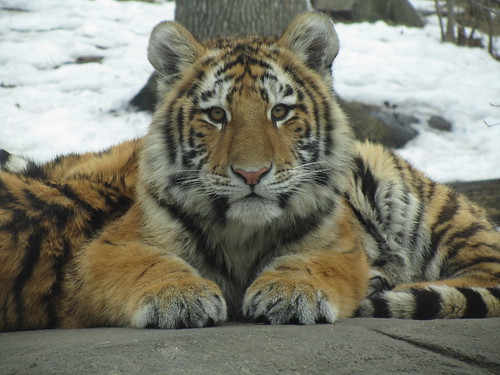
And when they wake up, it's time to play! The Amur tigers were playing with their food...
The ring-tailed lemurs were running around just because...

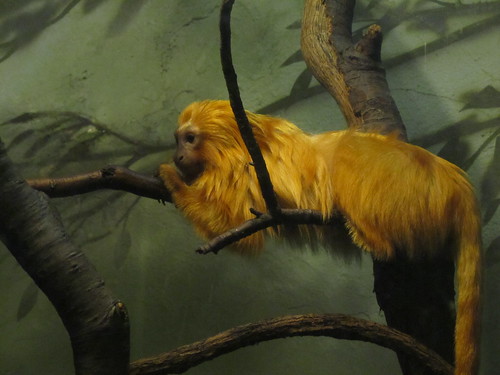
The golden lion tamarins ran around so much I had trouble getting a clear shot...
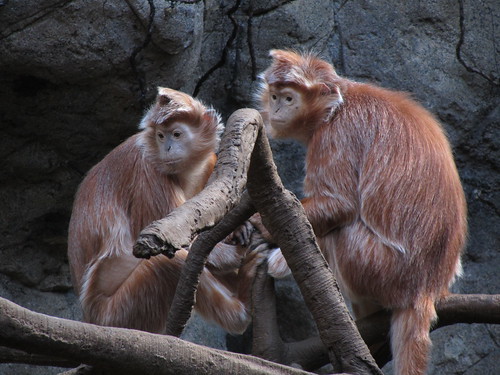
The ebony langurs were mostly just grooming each other...
The hornbill made his (or her?) voice heard...
The Asian water dragon was just watching (until his fellow jumped on his back right after I took this picture)...

The peacocks mostly ran away...

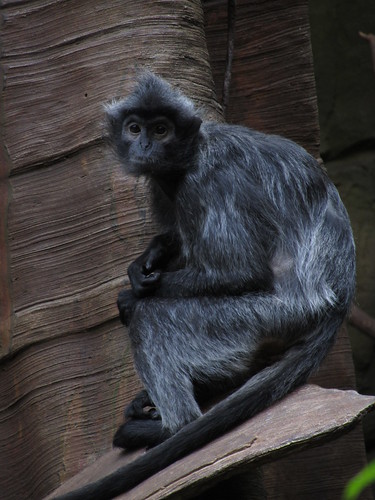
...but my shots of the day were of this Silvered Leaf Monkey, who looked like he had all the knowledge of the world, and was just waiting for someone to come and ask him all about it...
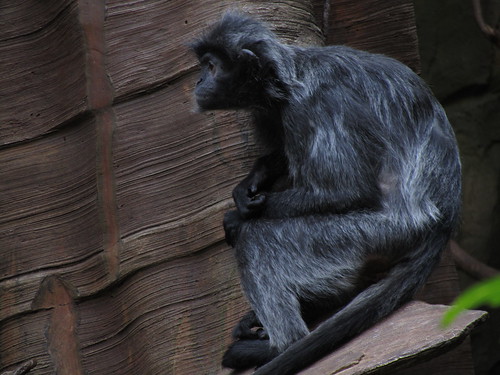
...but I couldn't convince him to tell me...
You can see the whole set here. It took five minutes to pick the tiger shot from about the 30 that I took, all adorable (there are three tiger cubs along with their mama at the zoo right now...). The old set that I took last year and shows my improvement is here.)
HAHAHA YES!! In the time it took all the photos to upload, I found my receipt!! It's dated 4/23/2010, so it blatantly proves my warranty is still valid, so I'll definitely not gonna have to pay for any repairs or replacement! YAY!! (I was worried, I'll admit - I tend to toss receipts, so it was entirely possible that I didn't have it...)
SQUEE! And adorable animals! :) (and if you want a spoiler for tomorrow, the pictures of the Manager are already up on Flickr...and I promise I will not do a third day in a row of so many pics!)